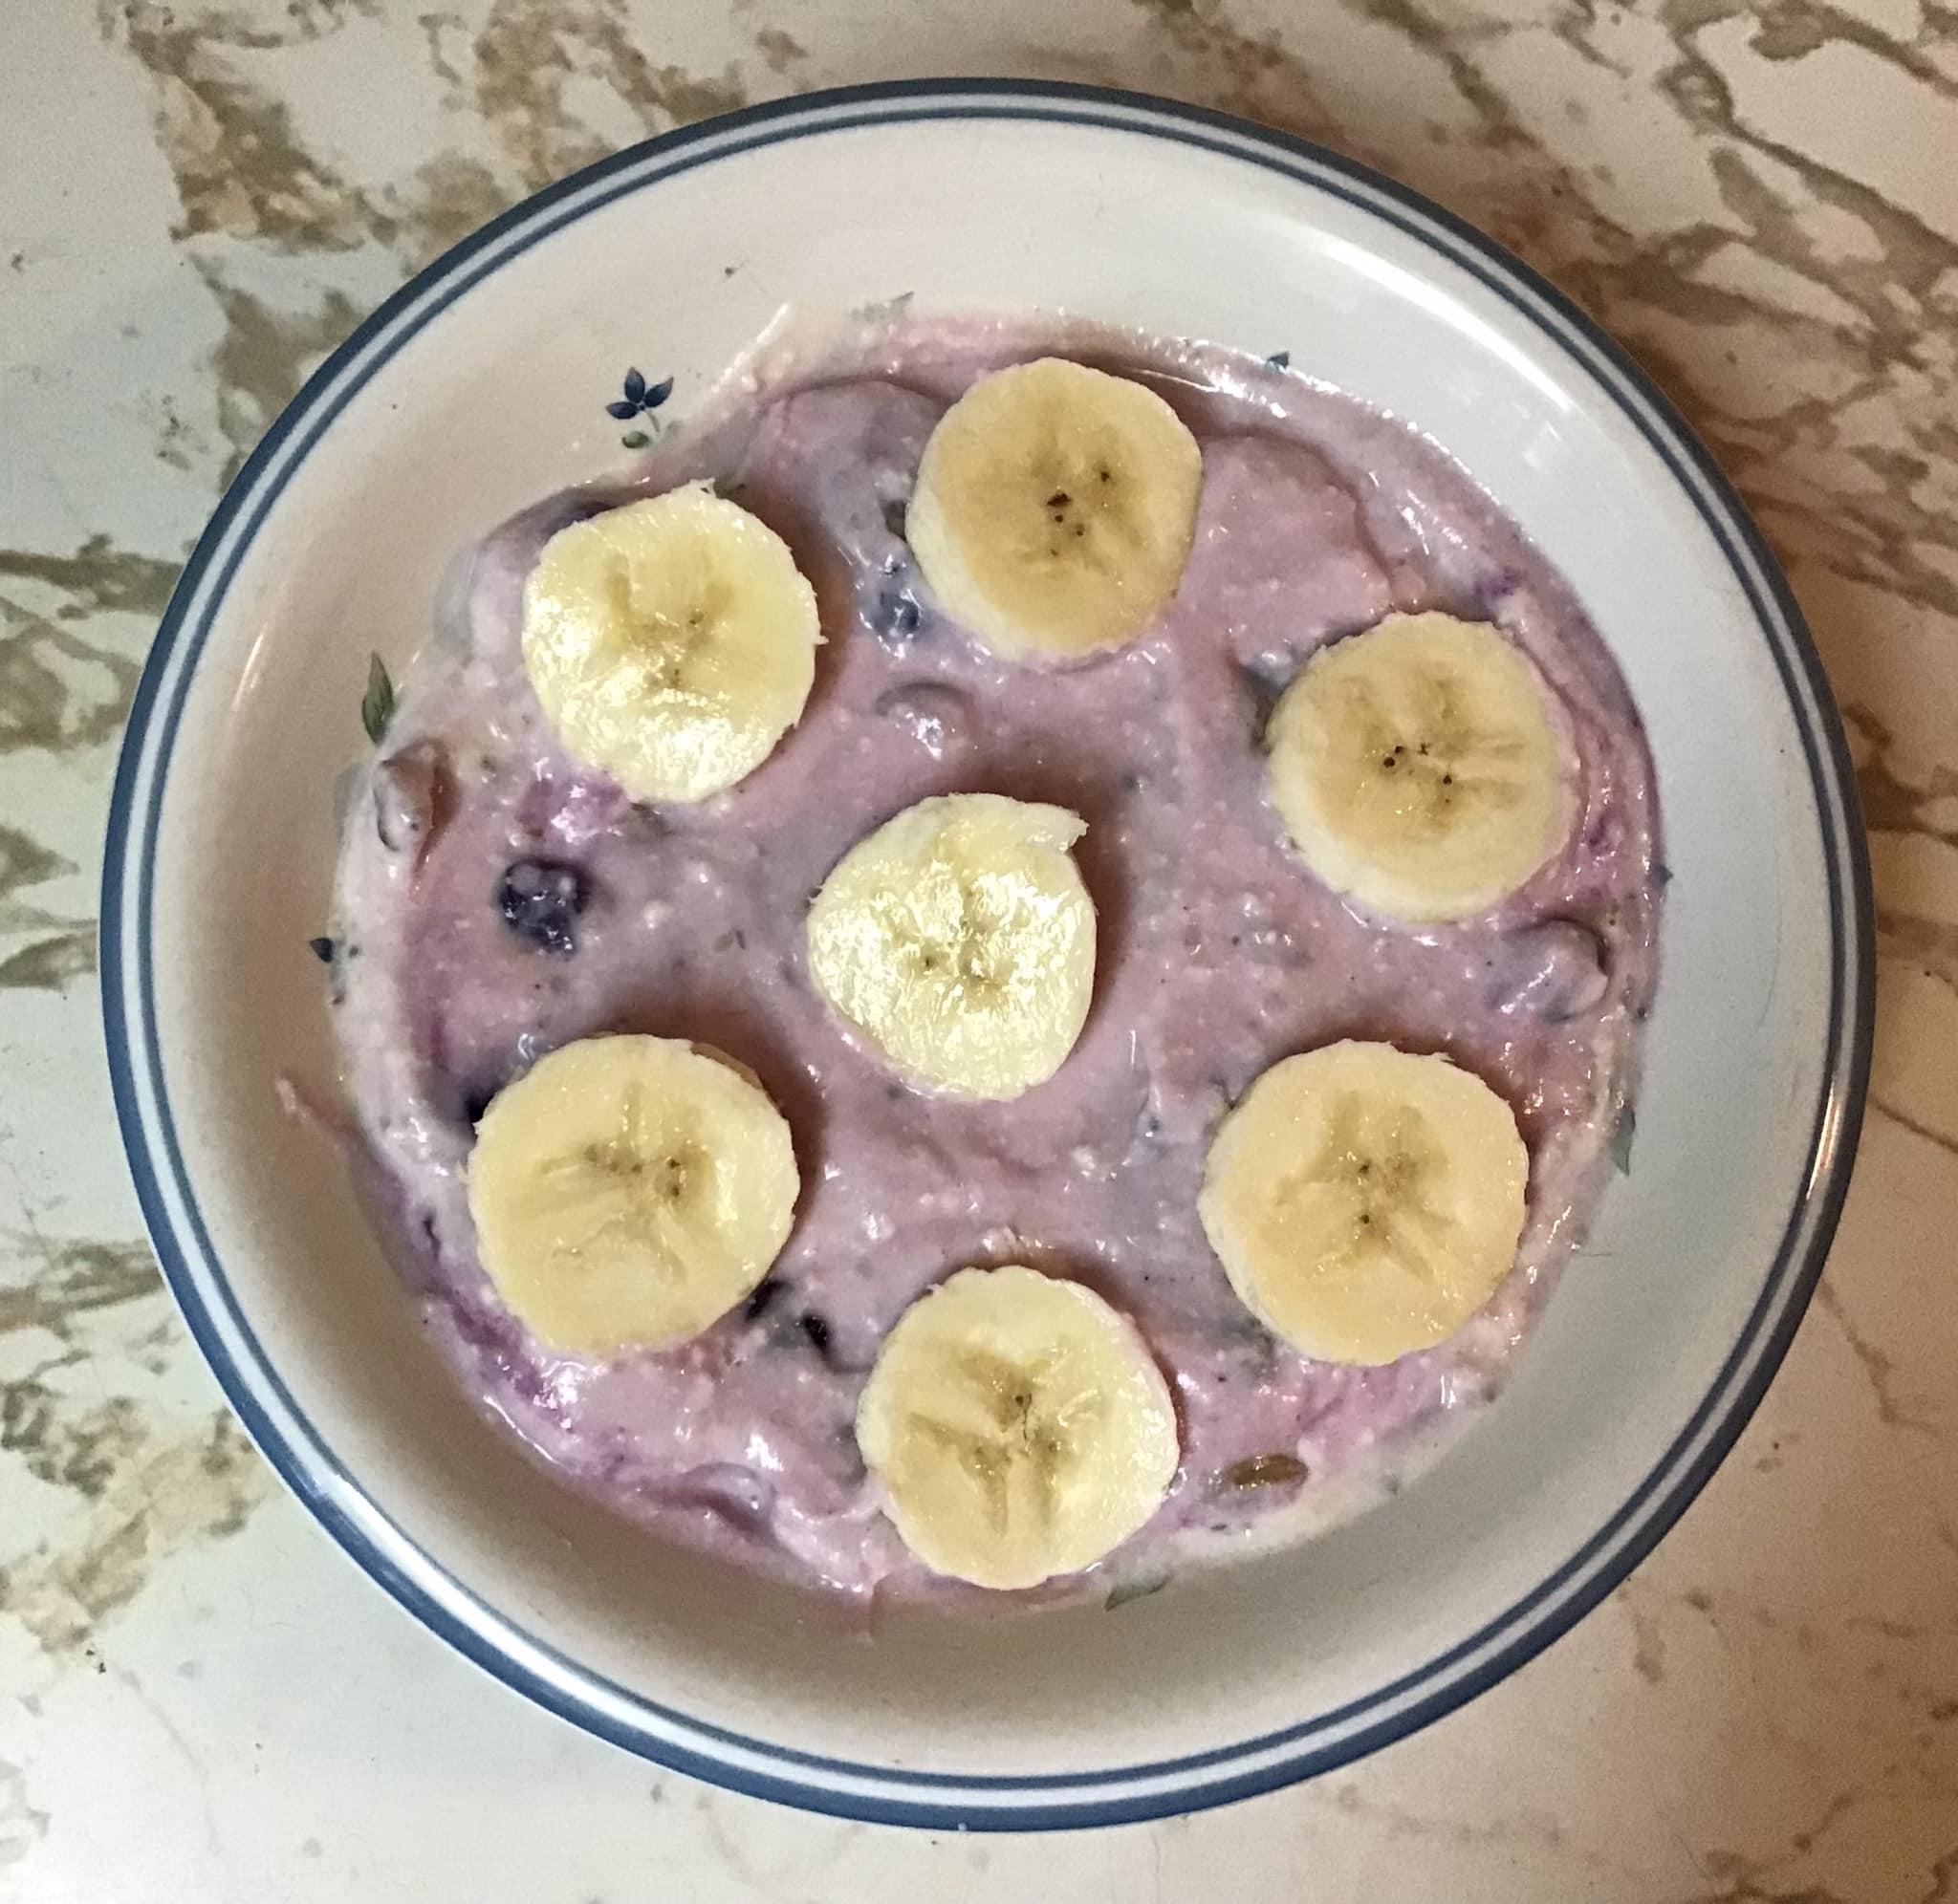
015: Non-Dairy Yogurt
Made by Sue V. Grisham - Member off the 60 Day Plant Based Challenge

Time: 2.5 hours
Servings: 1 quart
015: Non-Dairy Yogurt
Ingredients
4 cups of non-dairy milk 1 quart*
2 tablespoons (heaping) cornstarch or other thickener
1 tablespoon of store-bought non-dairy yogurt OR 2-3 tablespoons of the non-dairy yogurt from your previous batch
Your favorite toppings like granola, berries, coconut, cocao, nuts, seeds, etc.
Instructions:
-
Start by pouring the milk into a large sauce pan over medium heat and whisking in 2 heaping tablespoons of cornstarch. Make sure you whisk well so that no clumps form.
2. Continue whisking and increasing the heat until your milk reaches 180 °F. Don't let it boil! Just increase the temperature a little at a time.
3. Once the milk has reached 180 °F, take the saucepan off of the heat and let the milk cool, whisking it often. This can take from 1 to 2 hours. Let the milk cool between 90-100 °F.
4. While the milk is cooling, place your crockpot in the middle of a large towel and turn it on low. Also at this time remove from the refrigerator either the 1 tablespoon of store-bought yogurt or the 2-3 tablespoons of yogurt from your previous batch of yogurt and let it come to room temperature.
5. Once the milk has cooled to between 90-100 °F, thoroughly whisk in the 1-3 tablespoons of yogurt. Then pour the entire mixture into your glass jar. Loosely put the lid on top, but don't tighten it.
6. Turn off the crockpot and unplug it. Then tightly wrap the jar full of milk in smaller towels and place it in the crockpot. Take the larger towel and wrap the entire crockpot tightly.
7. Let the yogurt "incubate" from 12-18 hours. The longer you let it incubate the more bitter/sour and thicker it will get. It really varies on the type of milk you use and the heat of your crockpot. The first time you make it, start by checking your yogurt at 12 hours. Give it a stir and taste it. If it's not too sour, wrap it back up and let it sit longer (you can even turn on your crockpot for a minute or so to re-heat it.
8. Add your favorite toppings to mix in like granola, berries, coconut, cocao, nuts, seeds, etc.
NOTES
The first time I made this yogurt I let it incubate for 12 hours before I tasted it and ended up letting it go about 15 hours total, checking it every now and then. It was sweet, but a little runny.
The second time I made it, I let it sit for 15 hours before looking at it and it was a bit too sour for me, but a lot thicker. In order to get ride of some of the sourness, I just added some sweetener to it and then it was good to go.
Basically you may need to experiment a little before you get your yogurt to be just how you like it. Also, you may find this homemade yogurt to not be as thick as store-bought yogurt, but there are ways to make it thicker.
To get thicker yogurt try 1 or more of the following:
During step 2 allow your milk to stay heated at 180°F / 82°C for about 20 minutes. This allows some of the moisture in the milk to evaporate, making your yogurt thicker.
Let it "incubate" longer, but remember this will make it more sour.
Strain your yogurt from up to 1-2 hour to overnight, depending on how thick you want it. You can use something like cheesecloth on top of a strainer over a bowl.
Add pectin or gelatin (if not vegan or vegetarian as gelatin is made from ground up animal tendons, ligaments and/or bones!). You'll want to start with a small amount, about 1 teaspoon of thickener per quart of milk. During step 1, whisk 1 teaspoon of thickener into some of the milk in a separate bowl and let it "bloom". Then whisk it into the sauce pan of milk.

